源码:J Cloud Platform ,期待你们的star ٩(๑❛ᴗ❛๑)۶
Spring Boot Admin 是简单,同时功能也比较全面的监控服务,所以对于快速搭建微服务框架来说,是最佳的。比如 ELK Stack 能更好的处理日志,以及一些运行数据,但是,他需要配置,同时,对于少量的微服务显得笨重,而且后期加难度也不大。
老规矩,先让AI介绍下概念,这是换成了Notion AI,我也不知道为啥我bing用不了了。。。
概念 Spring Boot Admin是一个开源的第三方监控工具,可以用于管理和监控Spring Boot应用程序。它提供了一个简单易用的Web用户界面,让开发者可以轻松地查看应用程序的运行状况、性能指标、日志信息等。
Spring Boot Admin的主要特点包括:
易于配置和使用:只需要将Spring Boot Admin Server添加到Spring Boot应用程序中即可,无需任何额外的配置。
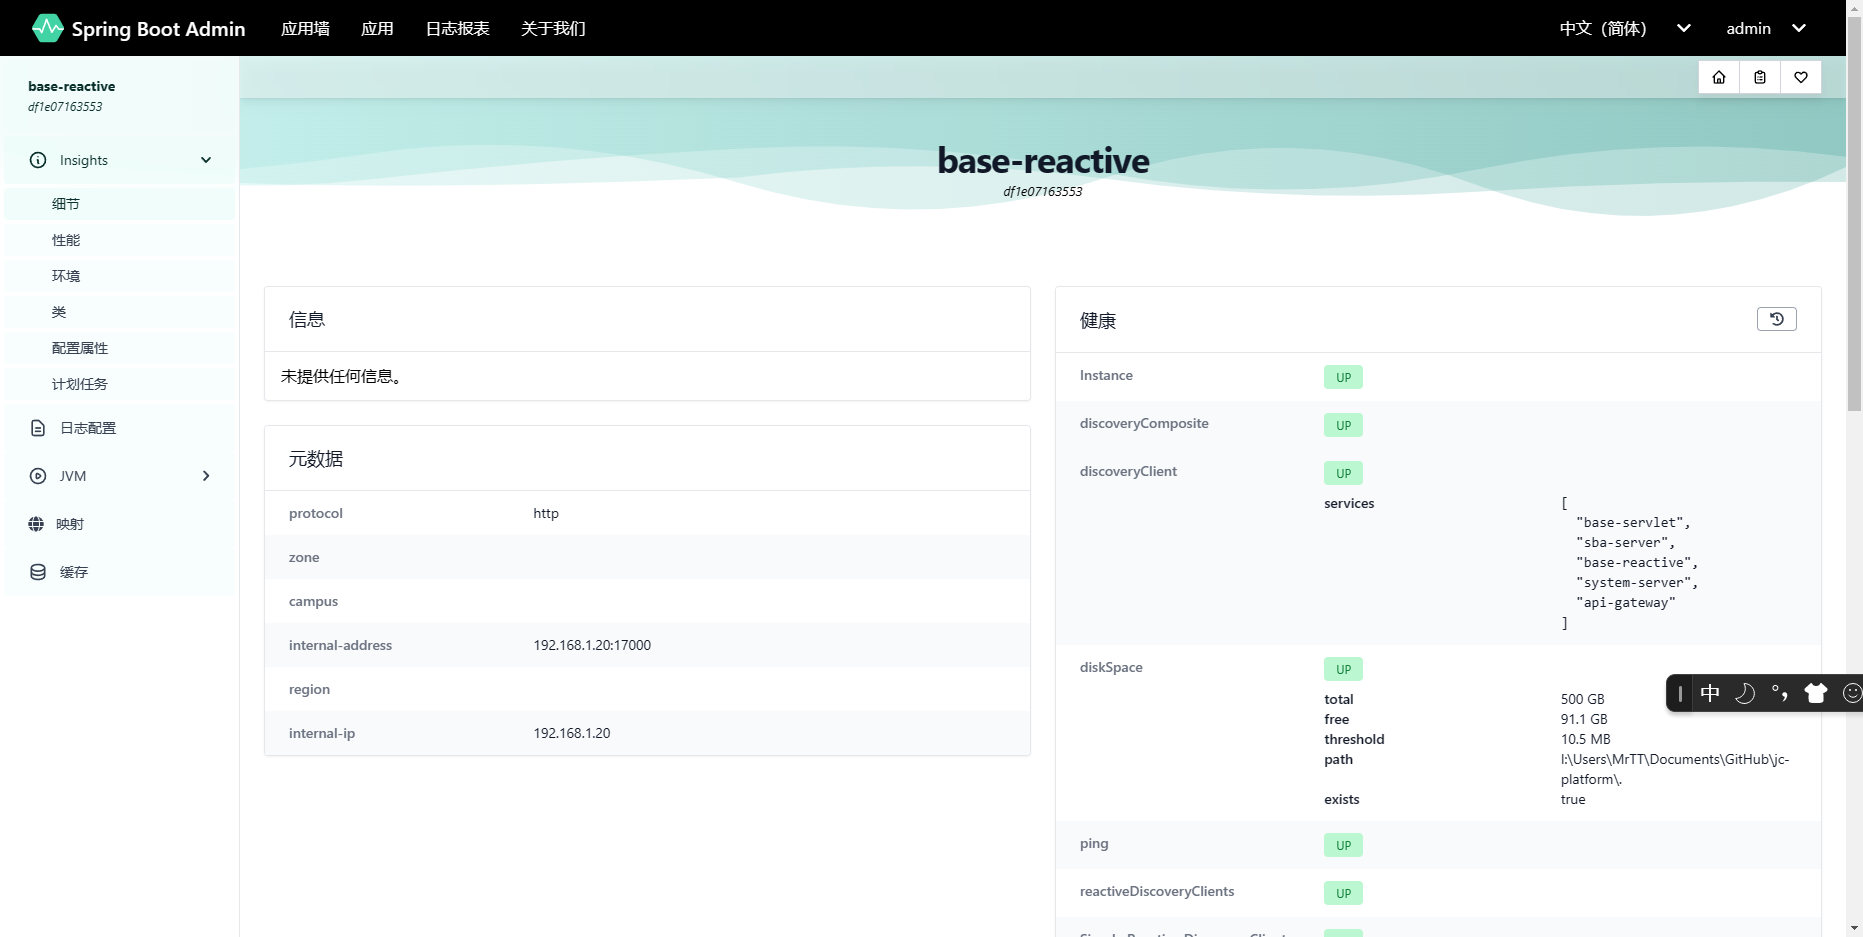
提供丰富的监控指标:可以查看应用程序的运行状况、内存使用情况、线程数、HTTP请求统计、数据库连接池状态等。
支持实时日志查看:可以查看应用程序的标准输出、错误输出和日志文件。
提供邮件和Slack通知功能:可以在应用程序发生故障或异常时发送邮件或Slack消息通知开发者。
支持集群监控:可以同时监控多个Spring Boot应用程序,并对它们进行统一管理。
总之,Spring Boot Admin是一个功能强大、易于使用、高度可定制化的监控工具,可以帮助开发者更好地管理和监控Spring Boot应用程序的运行状态,提高应用程序的可靠性和稳定性。
搭建 SBA Server 创建一个sba-server模块,像base-reactive一样,并添加spring-boot-admin-starter-server spring-boot-starter-security依赖
1 2 3 4 5 6 7 8 9 10 11 12 13 14 15 16 17 18 19 20 21 22 <dependency > <groupId > de.codecentric</groupId > <artifactId > spring-boot-admin-starter-server</artifactId > </dependency > <dependency > <groupId > org.springframework.boot</groupId > <artifactId > spring-boot-starter-security</artifactId > </dependency > <dependency > <groupId > com.tencent.cloud</groupId > <artifactId > spring-cloud-starter-tencent-polaris-discovery</artifactId > </dependency > <dependency > <groupId > com.tencent.cloud</groupId > <artifactId > spring-cloud-starter-tencent-polaris-config</artifactId > </dependency > <dependency > <groupId > org.springframework.cloud</groupId > <artifactId > spring-cloud-starter-bootstrap</artifactId > </dependency >
添加bootstrap.yml文件
1
2
3
4
5
6
7
8
9
10
11
12
13
spring: application: name: sba-server cloud: polaris: address: grpc://localhost:18091 namespace: default config: address: grpc://localhost:18093 auto-refresh: true config: import: - optional:polaris:dev:auth.properties
添加启用注解
1
2
3
4
5
6
7
8
9
10
@SpringBootApplication @EnableAdminServer @EnableDiscoveryClient public class SBAServerApplication {public static void main (String[] args) {
添加spring security的拦截器
1
2
3
4
5
6
7
8
9
10
11
12
13
14
15
16
17
18
19
20
21
22
23
24
25
26
27
28
29
30
31
32
33
34
35
36
37
38
39
40
41
42
43
44
@Configuration(proxyBeanMethods = false) public class SecuritySecureConfig {private final AdminServerProperties adminServer;public SecuritySecureConfig (AdminServerProperties adminServer) {this .adminServer = adminServer;@Bean public SecurityWebFilterChain securityWebFilterChainSecure (ServerHttpSecurity http) {return httpthis .adminServer.path("/assets/**" ))"/actuator/health/**" )this .adminServer.path("/login" ))this .adminServer.path("/login" ))this .adminServer.path("/" ))))this .adminServer.path("/logout" ))this .adminServer.path("/login?logout" ))))private ServerLogoutSuccessHandler logoutSuccessHandler (String uri) {RedirectServerLogoutSuccessHandler successHandler = new RedirectServerLogoutSuccessHandler ();return successHandler;private ServerAuthenticationSuccessHandler loginSuccessHandler (String uri) {RedirectServerAuthenticationSuccessHandler successHandler = new RedirectServerAuthenticationSuccessHandler ();return successHandler;
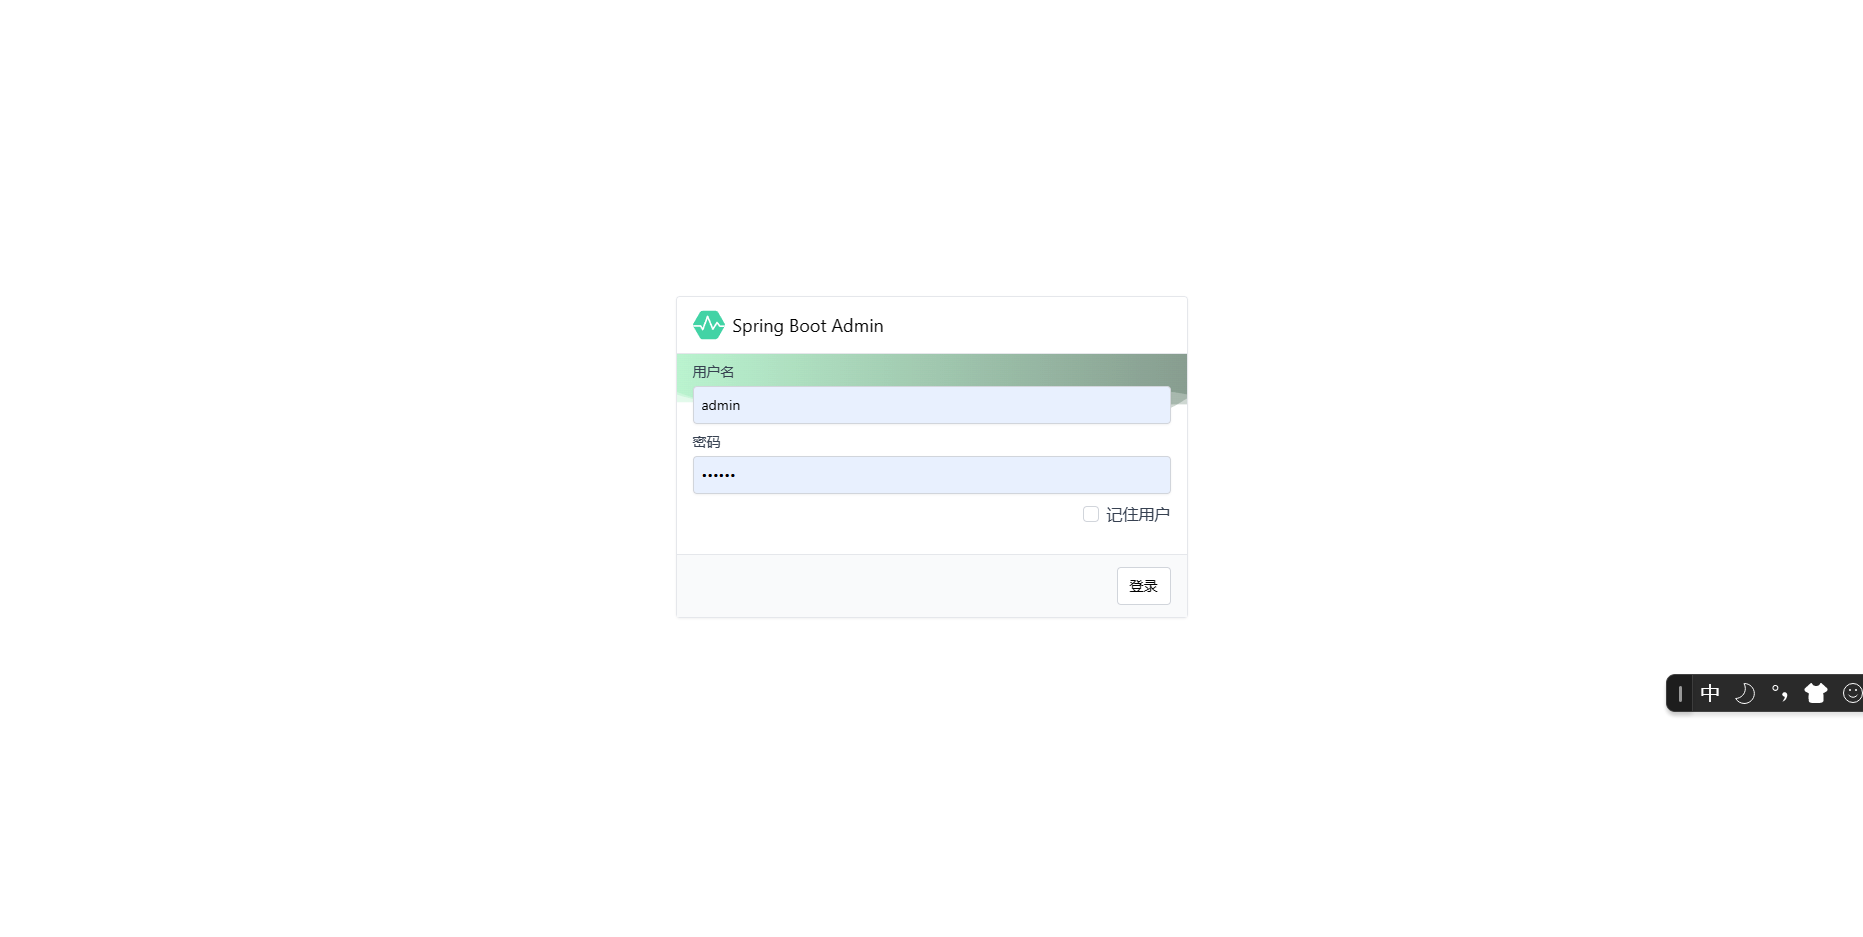
配置spring security的用户名与密码
1
2
spring.security.user.name =admin spring.security.user.password =123456
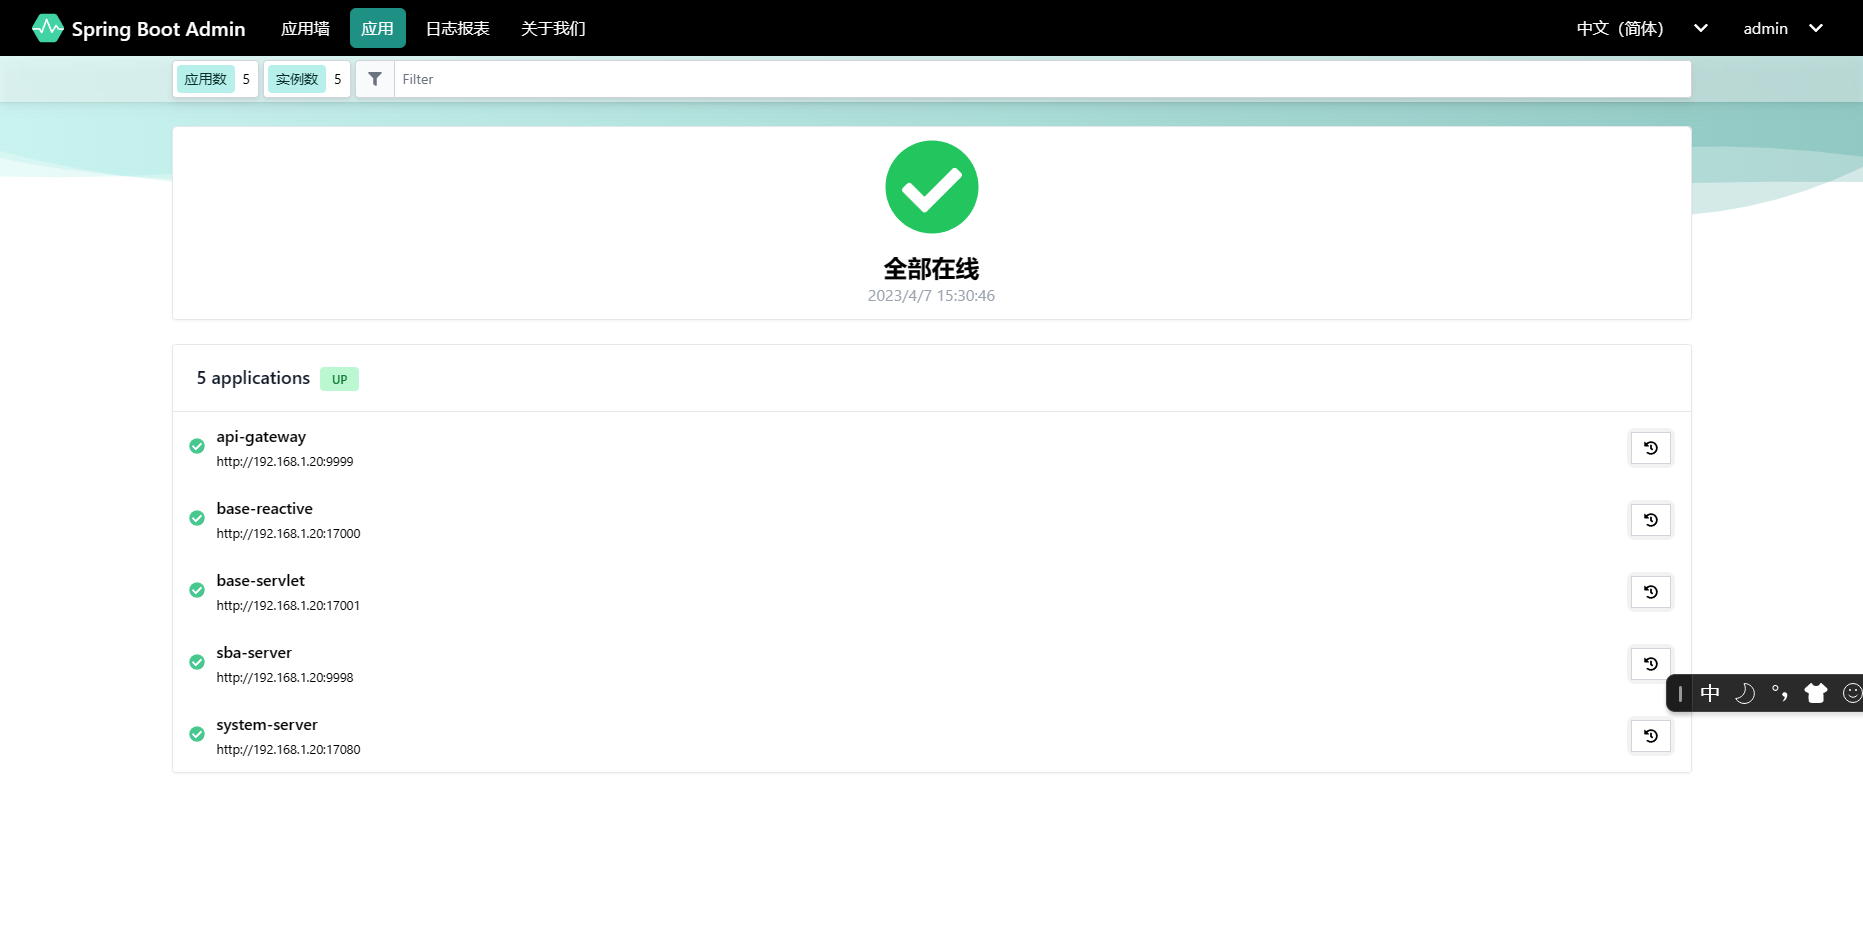
okay,运行后就可以在浏览器打开了
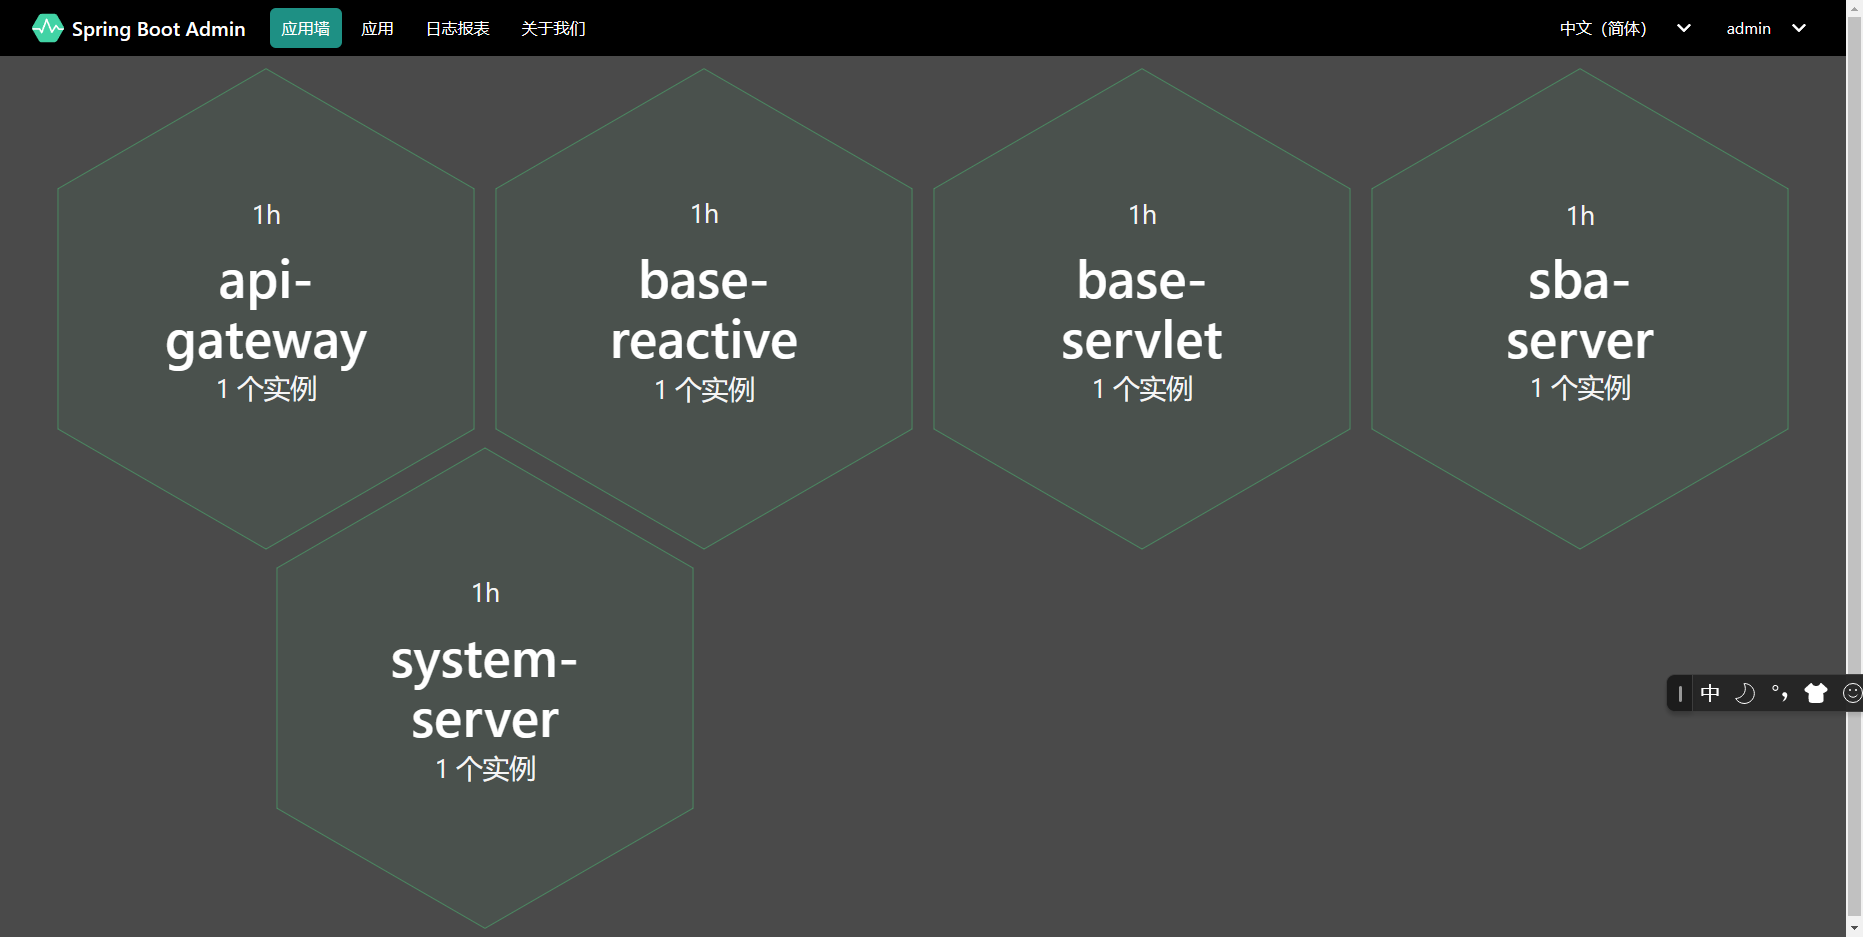
总结 有一说一。spring boot admin的ui还是很现代化的,这种风格我还是蛮喜欢的
其实,安全这部分还没开发完成,你可以看到用的是官方的例子,这是由于整体的安全框架还未搭建完成。我后面还会继续修改这部分内容,具体的内容可能得在后面安全框架介绍时再讲了